Love handicrafts? Shop small scale, use Etsy!

Showing posts with label home and garden. Show all posts

Sunday, October 7, 2012

So you want to build a solar oven. Pt 1

So you want to build a solar oven? Good Luck!

There are kits you can buy, or you can buy more heavy duty materials to make it last longer. Well I'm broke as balls; you know "welfare budget" and all, so I wanted to figure out how to do it with found objects, things I had around the house, and minimal purchase, but from things only found at the local dollar store. Information about the benefits and blah dee blah of solar ovens will come in a different post.

Pictures will come as I make it happen, and so I'll write this sort of like a diary...

Day 1: 10/7/2012

Dear Diary,
   Today I want to build a solar oven. I've seen examples and web pages and want to see about building one of my own.

I have a lot of cardboard boxes around here, let's see what i can come up with.

I made from parts of 1 box, a 15" x 15" with 6" sides. I taped it with duct tape, just to hold it together, so i could have my hands free.

The great thing with this is that I can always build the sides up by gluing and taping more cardboard. Perfection and beauty not required.

I want to essentially paper mache the cardboard to make it more durable. So I made home made Mod Podge like this:

1 Pint Mason Jar
1 Bottle All-Purpose White Glue (Like Elmer's, but a generic brand will be just fine. It needs to be non-toxic. This type of glue does not release under heat.)

Into the jar, I poured the bottle of glue, which a typical bottle will be just a little less than half of the jar. I filled the rest with water, put on the lid, shook, a voila; home made mod podge for a fraction of the price. I think I paid 37 cents for mine from the clearance shelf at Walmart.

I used brown paper shopping & lunch bags, because that's what I have at the moment, and pasted on a layer on the box and I'm letting that dry tonight.

I also am using a cooling rack with a piece of cardboard cut to the size of the top, duct taped it in place, and have the bottom pasted with brown paper too. I'm letting that dry tonight as well. That will be the base of the "cooking" part of the oven, where I'll be pasting aluminum foil.

The Outside box is larger than the inside box. I'll be crumpling newspapers to put in between the two. The air between them as well as the newspaper will insulate allowing the cooker to be more efficient with less heat loss.

That's all I've done for tonight. I'll check back tomorrow.

*Disclaimer* There are fantastic free plans, and kits out there available over the internet. This is not the ONLY right method. This is an experiment. If it works, great. If it doesn't, well, we'll try something else.

Friday, June 1, 2012

Letter to my Readers #3

So I was washing up the dishes after making the laundry powder and homemade bagels. Yes, I'll post my bagel recipe at some point.

Anyway, so after shaving the ivory, i put the grater into a full sink of hot water that had dishes soaking. My Dishwasher is stupid. I have to wash the dishes by hand before I put them into the dish"Washer" which I use as a high temp rinse and for sanitizing, i guess. Otherwise its a big lump of useless crap...

Anyway 2.0, Ivory on grater, in hot water in sink, it melts into the water. i decided to add a  little borax and baking soda to it, and let me tell ya. I was able to soak the dishes for less time. Food came off, including my baking sheets with baked on oil and such on it. Took almost all of it right off. It was great!

The moral of the story... Try a little of that laundry mix in the dish washing instead of just plain dish soap. Let me know how it works for you.

Thursday, May 31, 2012

Replace It: Laundry Detergent: Powder

As with the shampoo we discussed earlier, laundry detergents have the same problem; a whole mess of chemicals that aren't good for us, or our planet. It's so crazy easy, you can make great big batches for a fraction of what a box or a bottle costs. It is just as effective. You're less likely to have an allergic reaction, and you can either scent it or leave it plain.


What you'll need:

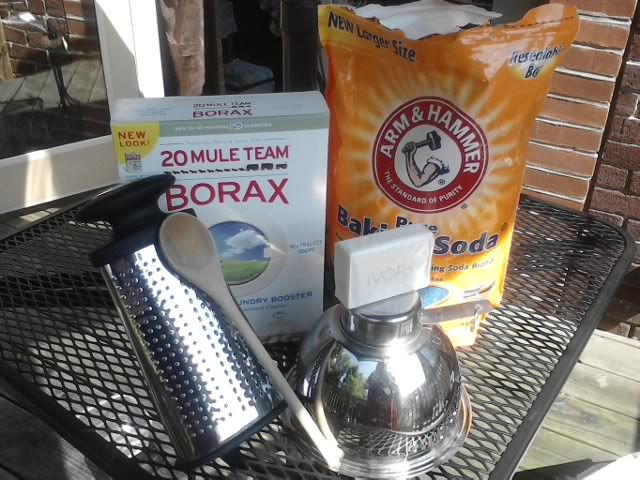
  • 1 bar of plain Ivory or Castile soap (Don't get all fancy with this, moisturizes and scents won't help you wash your clothes. Plain old basic soap is all you need)
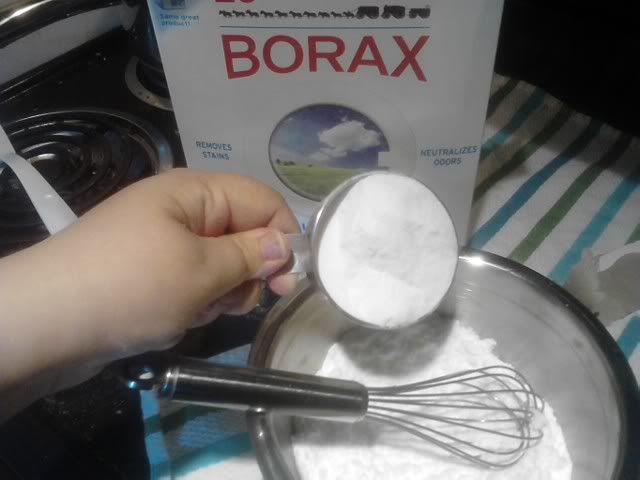
  • 1 Cup of Borax
  • 1 Cup of Baking Soda
  • Optional: 1 Tbsp finely ground herbs or 10 - 12 drops of essential oils (experiment with amounts in this. It's for fragrance. a little goes a long way, but make it the way you're happy with it.)
  • A container large enough to hold it
  • A cheese grater
  • A whisk or spoon
Instructions: (WITH PICTURES!!!)


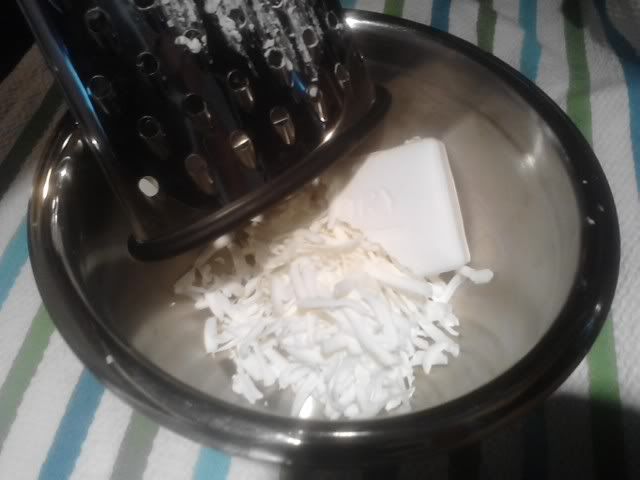
1. Grate the soap.
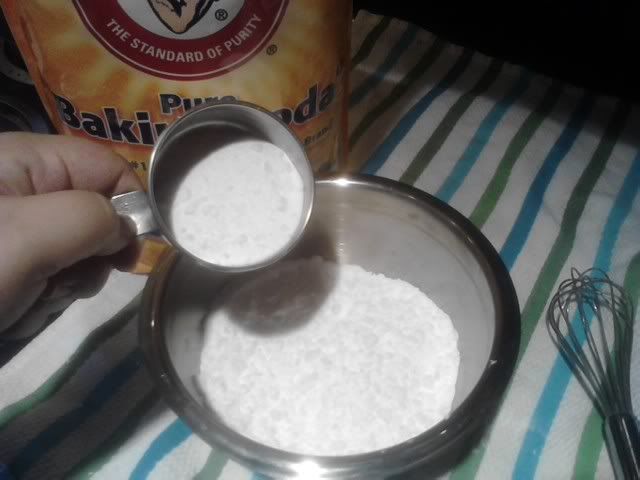
2. Add Baking Soda
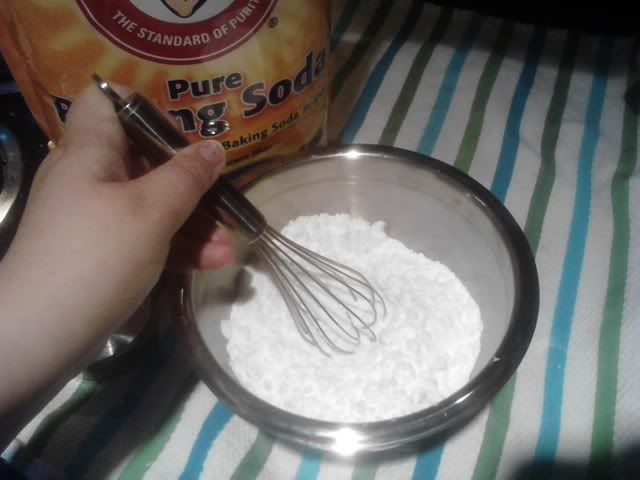
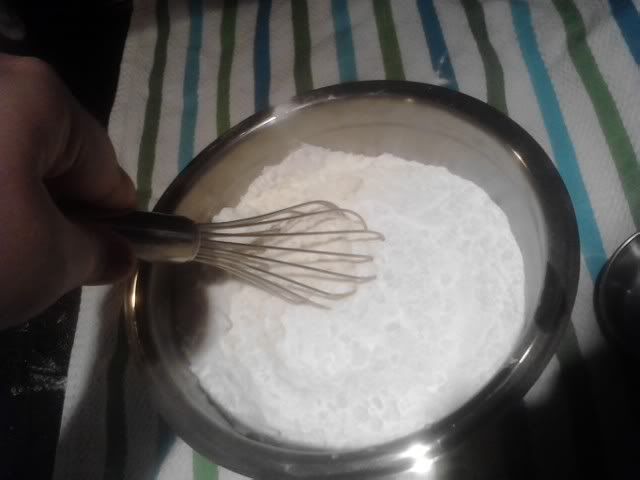
3. Stir
4. Add Borax
5. Stir
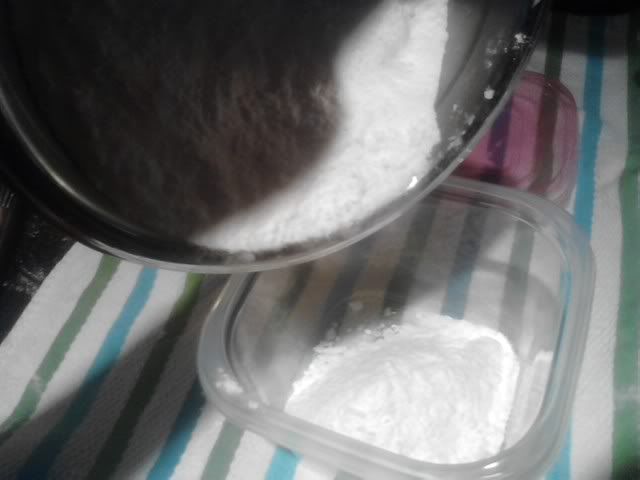
6. Add to storage container.
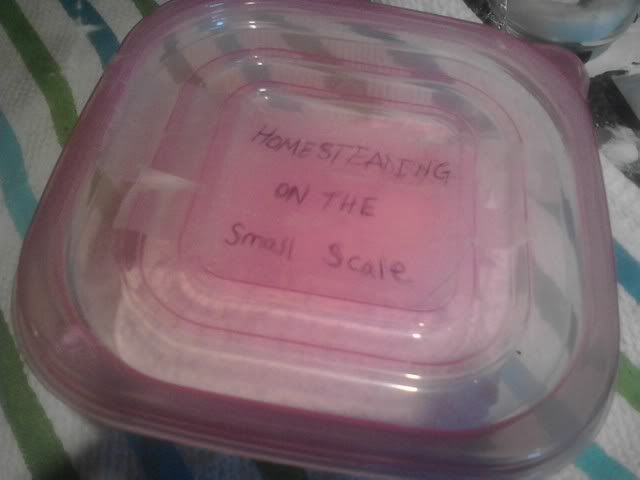
7. Seal and Label!

Use:
 1-2 Tbsp per regular load. Use more or less depending on how soiled your clothes are and the size of the load. 

It will make approximately 32 -64 loads depending on  the amount you use, but it's so inexpensive, you can easily make more when you want it!

Oh, you wanted liquid detergent? No problem...


Have you tried this? Know other laundry soap recipes? Tell us about it!! 

Tuesday, May 15, 2012

In the Garden: Laying Down Roots

Did you know that you can grow some veggies from the root ends that we usually discard? In the photo above I have planted garlic, celery and romaine lettuce. Last year I grew ginger this way as well.

After you've used the bulk of the vegetable, bury the root end into the soil. Keep it watered, and wait for the magic.

What can I plant?
You can plant anything that has root ends or eyes. Among these are;
  • Lettuce (I used Romaine, but I'm sure you can try other kinds)
  • Celery
  • Carrots
  • Garlic
  • Onions
  • Ginger
  • Potatoes
  • Shallots
  • Beets
  • Rutabagas
  • Turnips
Root vegetables need to be completely buried like potatoes and turnips, while the more leafy things like celery or lettuce, only the roots need to be protected by soil.

You can also try planting seeds from other things.
  • Stone fruits (Cherries, peaches, apricots...)
  • Apples
  • Grapes
  • Avocados
Experiment and see what will grow for you. Many fruits grow on trees, so you'll want to transplant it to a larger space if starting them in a pot. However, you can find many variety of fruits and veggies that are bred for planter life.

Have you done things like this? What have you planted? Tell me about it.


How To: Make your own Kefir!

*NOTE: I will be adding photos to this post during my next batch, so it won't always be empty.*

These instructions are what I follow. I got them from the farm I buy my raw milk from. There are other instructions to be found on the net. They are all very similar to this. What I like about the instructions from "The Family Cow" farm is that it is very 1, 2, 3 -- very step by step which is how I like it. It's a list. I LOVE LISTS!

What you will need:

  • Jar or Crock (We prefer a stoneware crock)
  • Real Kefir Grains
  • Raw Milk (Preferably from Certified Organic Jersey! :) )
  • Cloth or towel
  • Colander or strainer (holes should be about 1/16th in diameter)
  • Bowl
  • Wooden spoon or spatula
To start the process:
  1. Place the entire contents of "Kefir Starter Grains" into the crock or jar.
  2. Pour 1 quart of milk over grains. (Keep down 1" or so from rim as milk will expand)
  3. Cover with a cloth or towel to keep flies/dirt out but still let oxygen in.
  4. Let sit at room temperature for 24 hours to culture. Do not set in sunlight.
  5. Stir cultured Kefir to break up the thickness to make it easier to strain. Do not be alarmed at the curdled look of the kefir. Curds are a perfectly normal part of cheese, yogurt, and kefir making.
  6. Set the colander on top of the bowl and pour the kefir into it. Use the spoon to help the kefir through. Do not rinse the grains after you strain them. In fact, it would be better to leave a few curds with them.
  7. Return the grains to the fermentation crock to be ready for the next batch. After several batches, you'll notice that you have more grains than you started with. When you have 1 cup or more, you may start culturing 1/2 a gallon at a time... or, find a friend who wants some kefir grains. *NOTE: I WILL LET YOU KNOW WHEN I HAVE SOME READY FOR THOSE THAT WANT THEM, AS THEY BECOME AVAILABLE*
  8. Place the freshly strained Kefir in the refrigerator to chill.
  9. Puree your choice of fruit (frozen is best) in a food processor or blender. Then add the chilled kefir along with sugar, maple syrup. (I PREFER HONEY) or other sweetener to suit your taste. It is totally up to you to decide how sweet you like it or what flavors to add. We enjoy banana, peach, strawberry, blueberry, nectarine, orange, apricot or even a blend of several. Your imagination is the limit.
Kefir Smoothie - Honey, Banana and Strawberry. I used the food processor.
(Mothers, try freezing cool pops with Kefir instead of kool-aid. Your children will love them!... or freeze a pan of kefir and then process the frozen Kefir with frozen fruit, and a little extra sugar. (It tastes almost exactly like sherbet.)

To start the next batch: Place the grains in the fermentation jar, refill it with milk and repeat the whole process.

To take a short break from kefir making: Place the grains in a small container, cover with milk, cover container with a paper towel or cloth secured by a rubber band, and refrigerate. The cold temperatures will only allow a very slow fermentation. Important: Change the milk every week so the probiotic bacteria do not starve. The first batch or so will take longer than 24 hours to ferment til the grains get revived from their dormancy.

To take a long break: Rinse the grains with water and lay them on a paper towel to dry. When they are totally dry, place the grains in a container and store in your kitchen cupboard. They have been known to keep up to 2 or 3 years like this. When you are ready to start again, simply place the grains in milk like you would for a normal batch of kefir. The first batch will take longer than 24 hours to ferment til the grains get fully re-hydrated and revived.


If you use an antibacterial soap or something like Clorox to wash the container (WHICH IS NOT A GOOD IDEA) you are using for fermenting, be VERY careful to rinse it well as any residuals will KILL the grains. it is actually NOT necessary to wash your fermentation jar every time. The little bit of kefir left on the inside will help start the next batch.

Happy Kefir Making!

Interesting Study: Google "Health/Kefir"

Monday, May 14, 2012

What is it? :: Kefir

What it is?
It is probably one of the most ancient of all cultured milk products. Simply put, it's cultured milk like yogurt or sour cream. Unlike either it is fermented with it's culture. Cow, goat or sheep's milk is used most often. A culture is added, a SCOBY (Symbiotic Cooperation of Bacteria and Yeast), called Kefir Grains. the SCOBY mass looks like grains.

Kefir is made from gelatinous white or yellow particles called “grains.” This makes kefir unique, as no other milk culture forms grains. These grains contain the bacteria/yeast mixture clumped together with casein (milk proteins) and complex sugars. They look like pieces of coral or small clumps of cauliflower and range from the size of a grain of wheat to that of a hazelnut. Some of the grains have been known to grow in large flat sheets that can be big enough to cover your hand!. The grains ferment the milk, incorporating their friendly organisms to create the cultured product. The grains are then removed with a strainer before consumption of the kefir and added to a new batch of milk.

Brief History of Kefir:
The shepherds of the Caucasus Region carried milk in leather pouches. The noticed that it occasionally fermented into something that was carbonated and tasty. They would hang these bags on their doors, and people walking by would knock the bag, keeping the culture and milk well mixed.

The drink is world wide. As populations spread out, the new smaller groups kept their food culture.

According to http://www.kefir.biz/history.htm


"Amongst the people of the northern slopes of the Caucasian Mountains there is a legend that Mohammed gave kefir grains to the Orthodox people and taught them how to make kefir. The 'Grains of the Prophet’ were guarded jealously since it was believed that they would lose their strength if the grains were given away and the secret of how to use them became common knowledge.
Kefir grains were regarded as part of the family's and tribe's wealth and they were passed on from generation to generation.
So, for centuries the people of the northern Caucasus enjoyed this food without sharing it with anyone else they came into contact with.
Other peoples occasionally heard strange tales of this unusual beverage which was said to have ‘magical’ properties. Marco Polo mentioned kefir in the chronicles of his travels in the East."
There is a much more detailed and thorough history on the site mentioned above.

Chock full o stuffFull of minerals, vitamins and amino acids
  • Contains partially digested proteins which can be used by the body easier.
  • Contains tryptophan, calcium and magnesium -- keeping you calmer, less stressed and your nervous system healthy.
  • Has phosphorus to help our bodies use carbs, fat and proteins to make cells & energy, and for body maintenance.
  • B12, B1m Vitamin K, Biotin. -- Aids in the utilization of other B Vitamins like folic acid, pantothenic acid as well as B12.
  • Aids in kidney, liver and nervous system health, relief from skin disorders, increased energy.
  • Easily digestable
  • Cleans intestines
  • Beneficial bacteria and yeast
  • Balanced, Complete, Wholesome, and Nourishing food
  • Promotes immune system health
  • Has been used in the treatment of a multitude of disorders including AIDS, CFS, depression and ADHD.
  • May help relieve digestive problems and make your inner ecosystem healthier.
  • May also help to relieve cravings for unhealthy foods like sweets.
Sounds odd, I know. I did to me to. I mean really, fermented milk? GROSS! But really, it's not. Cheese, yogurt, sour cream, butter milk... Those are all cultured milk products that we use every day. People have been making and using kefir in their own homes, long before refrigeration and sanitation standards. Even now, the health benefits have reached the world over, and into the local super market. You can find cultures as well as premade kefir drinks in your dairy section of most grocery or health food stores.

I found powdered culture at my natural food store, and kefired a whole quart! I wasn't sure of it at first. It was unfamiliar. I threw in a tablespoon of honey and let it warm up a bit. It was fizzy and sweet from the honey, tangy like yogurt, and thick like a smoothie. YUM! 

It's only been a week and I can't wait to have my next glass in the morning. I'm not sure if I truly feel a difference to write home about, but it doesn't suck. It's a great thing to have in the morning for the pick me up with your coffee.

By the way, it makes a KILLER smoothie, with some fruit and honey.


References:

Sunday, May 6, 2012

Upcycle This: Old Crates

Old packing and apple crates... You'll find them at yard sales, antique places and even on farms. They are versatile and sturdy. I used these crates as planters for my deck at my condo. Line them with landscape fabric, or burlap, or old new papers to fill in the slat spaces and fill them up with your favorite soil mixture. I decided to prop up some of them to give it better drainage.

Turn them on their sides to make stacking shelves. You can even put a piece of plywood or an old door to make a table or desk.

How do you use old crates? Comment below. I love hearing your ideas!

Friday, May 4, 2012

How To: Fly Traps

HOUSEFLIES!!!!!!! ACK!

We know them. We have the. We HATE them. UGH!!! 

Like the rest of you, I've tried the fly paper in the little tubes. They're sticky, and make a mess on the walls and curtains and windows if they get stuck to them.

Fly traps -- can have toxic chemicals that can be dangerous to you, your household, your pets and your children if they ever get a hold of it.

On the other hand. If you don't get RID of the fly infestations, they'll sit on your food, eat it and lay eggs, which turn into maggots., so you can't safely leave anything out, including fruits YUCK!

We all have those stories. They are pests in the house and need to be gotten rid of, so below I've given you a a great easy way to use 3 house hold items to make a safe, non-toxic trap.

Supplies:
  • a couple sheets of paper (Scrap paper or old newspaper is just fine for this)
  • a jar
  • Apple Cider Vinegar
Instructions:
  1. Fill the jar with 1 inch of vinegar.
  2. Roll a couple sheets of paper into a funnel.
  3. Place the narrowest end into the jar and spread it out so it doesn't slide in.
The flies will be attracted to they fruity apple cider vinegar, walk/fly down the funnel to get to the "tastiness." They won't be able to find their way out. They will either drown or become exhausted and drown. Either way, you'll be free of flies. Change the vinegar every other day or so until your infestation is gone. Because it's non-toxic you can keep a trap going all the time to keep your home fly free. Put one in every room in the house if you so choose.

Do you have fly trapping tips? Share them!


   The Kitchen Witch Of The South